Friday, September 27, 2013

Cherry Blossom Flour Sack Inspired Necklace

 So much of what I do feels like playing. Sometimes I like to pull together a pile of related elements and "see what happens".  This necklace is the product of just such an exercise. 
I experimented with using embossing powders on a stamped image on glass which worked pretty great I have to say. I used a small rubber stamp of a Japanese lantern to place the design, then sprinkled gold embossing powder on the glass tile.  I set it on a candle warmer for a few minutes and it melted into place.  It needed something behind the embossing to make the image pop, so I dug out this old flour sack material from my long neglected quilting supplies.  The effect is charming and feminine, and I love the almost garish colors, softened by the silver and age-patinaed phosphor bronze in the handmade chain and wrapped accents. 
If you've never worked with phosphor bronze, I recommend giving it a try.  It has a softer color than copper, a bit like rose gold and it gets a great "old gold" look to it when it oxidizes a bit. (available from Wickwire Jewelry).


Here's the inspiration photo of the materials I started with:

The piece of "carved coral" glass is vintage Cherry Brand pressed glass from Occupied Japan, and I think it works much better than the dangle I have on the piece.  The piece changed so many times in the process of creating it, that somehow I left this bit out.  Definitely needs to be swapped out and photos redone.

Alright then, off to change it out and redo the photos. 

Thursday, September 19, 2013

The Saving of the "Very Good Signs"

So we've had a guy here this week doing some earth moving around the farm - cleaning off the creek, cleaning out a branch that runs into the creek, etc. Last night hubby tells me that he's also covering up part of the garden as part of his attempt to reduce his compulsive overworking in the summer, which sounded great to me. Last night, that is. This morning I realized that he meant the garden patch which contains my "very good signs". Whaaa?????

I ran outside with a bucket, a rake, a hand trowel in.the.rain. and started picking up everything I could find. I'm proud to say I didn't throw a hissy fit . . .but I was prepared to lay down on the spot in protest and dare them to bulldoze over me!! Thankfully, hubby was open to a compromise and had the guy scoop up 7 or 8 huge scoops full of dirt from that area into piles at the edge of the woods for me to sort through.

The things we do for our art, eh?
I think it was completely worth it:

Friday, May 3, 2013

Rainy Day Inspiration

"The world's favorite season is the spring.
All things seem possible in May."
-  Edwin Way Teale

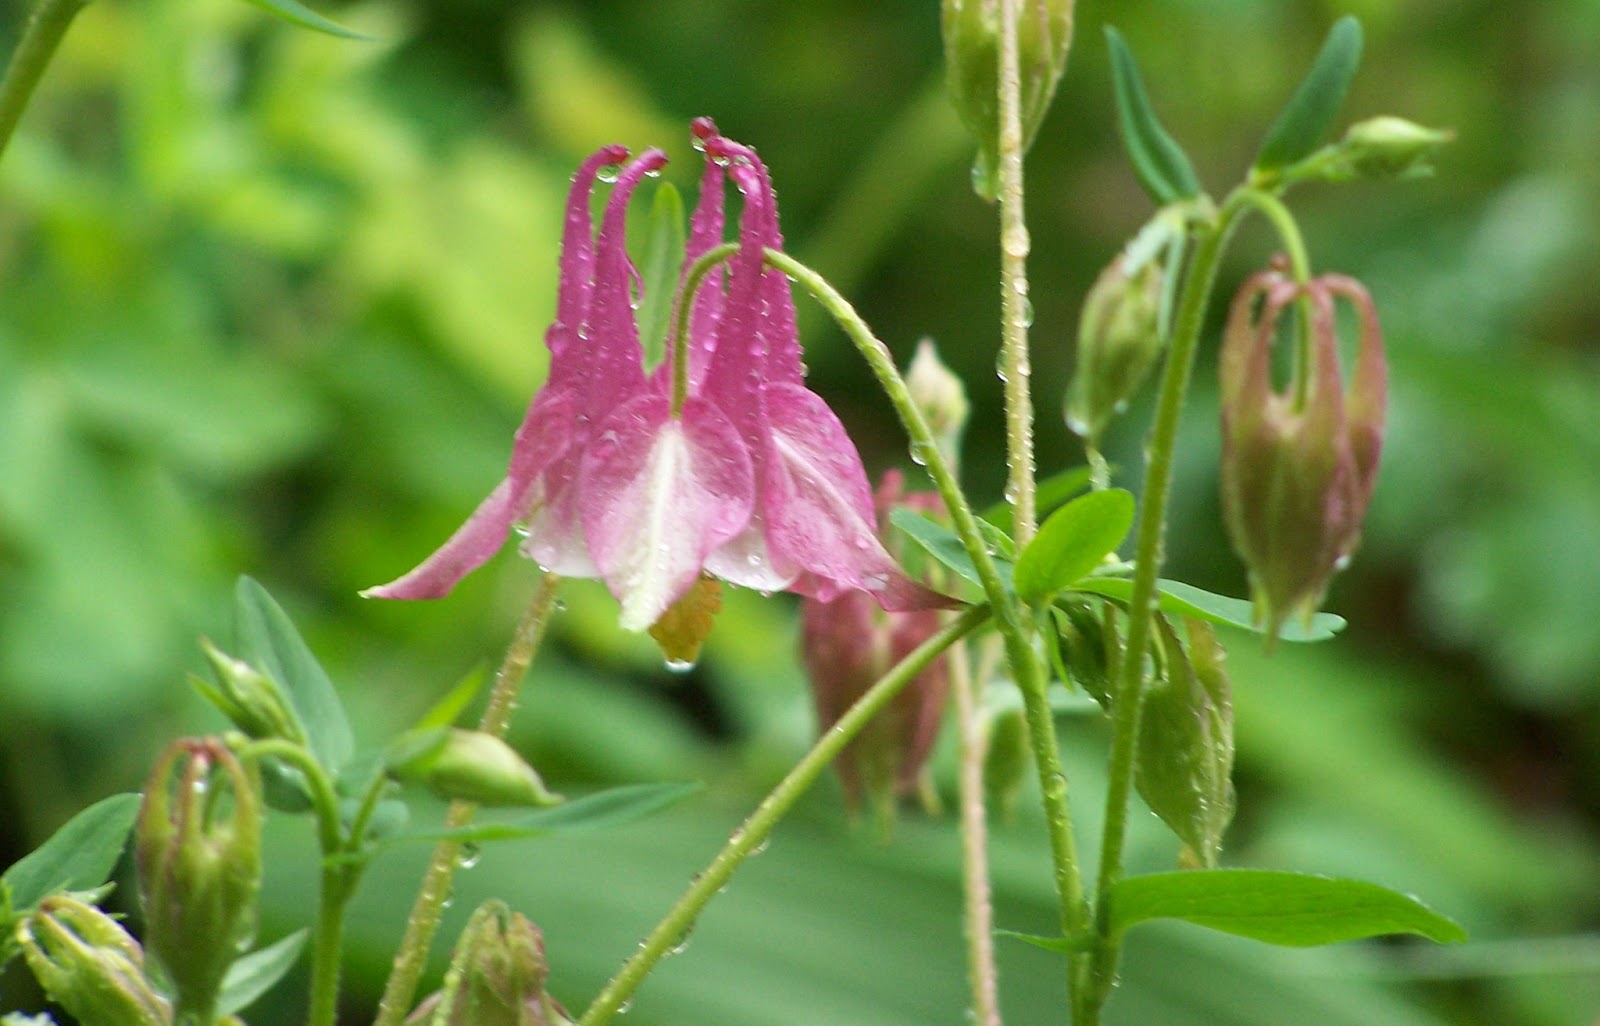
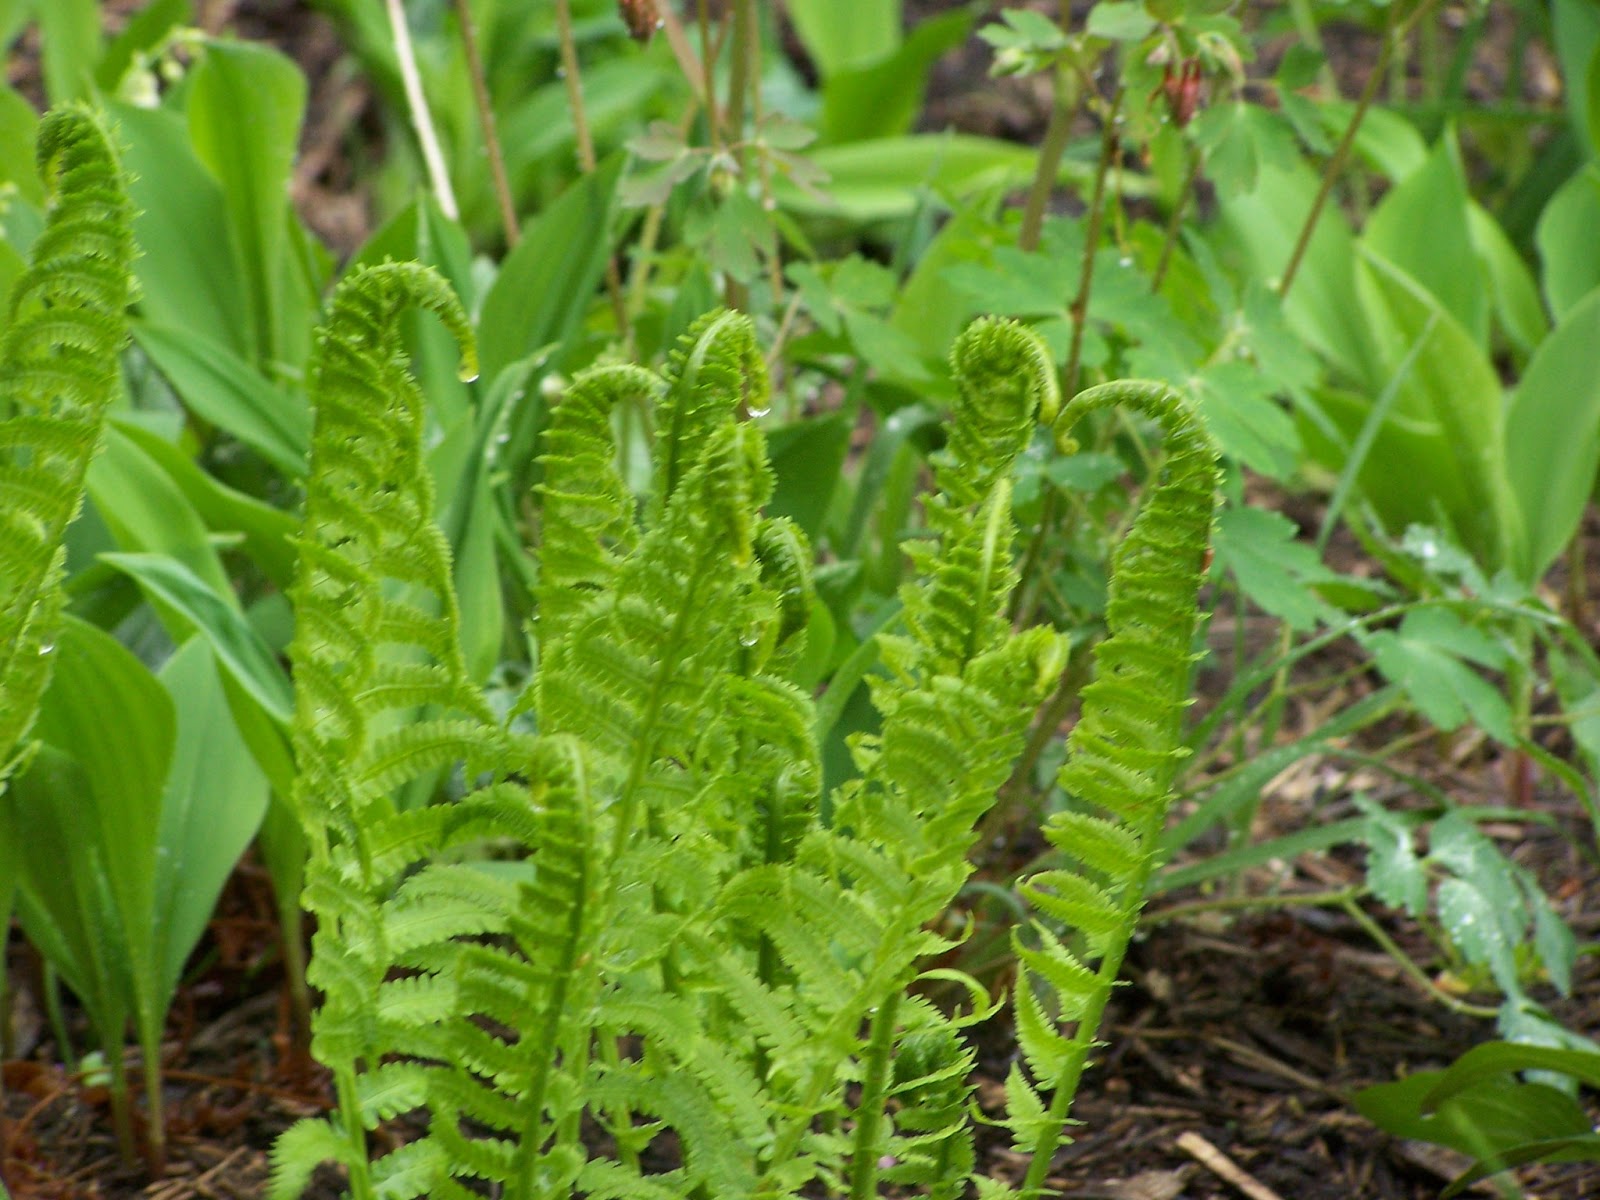
To me there is nothing more miraculous than watching my perennial beds transform from a barren landscape to the bountiful glory of flowers every Spring. The rain was an especially gentle one, creating lovely drops of inspiration.


Friday, March 29, 2013

ShesSoWitte Jewelry Studio Project

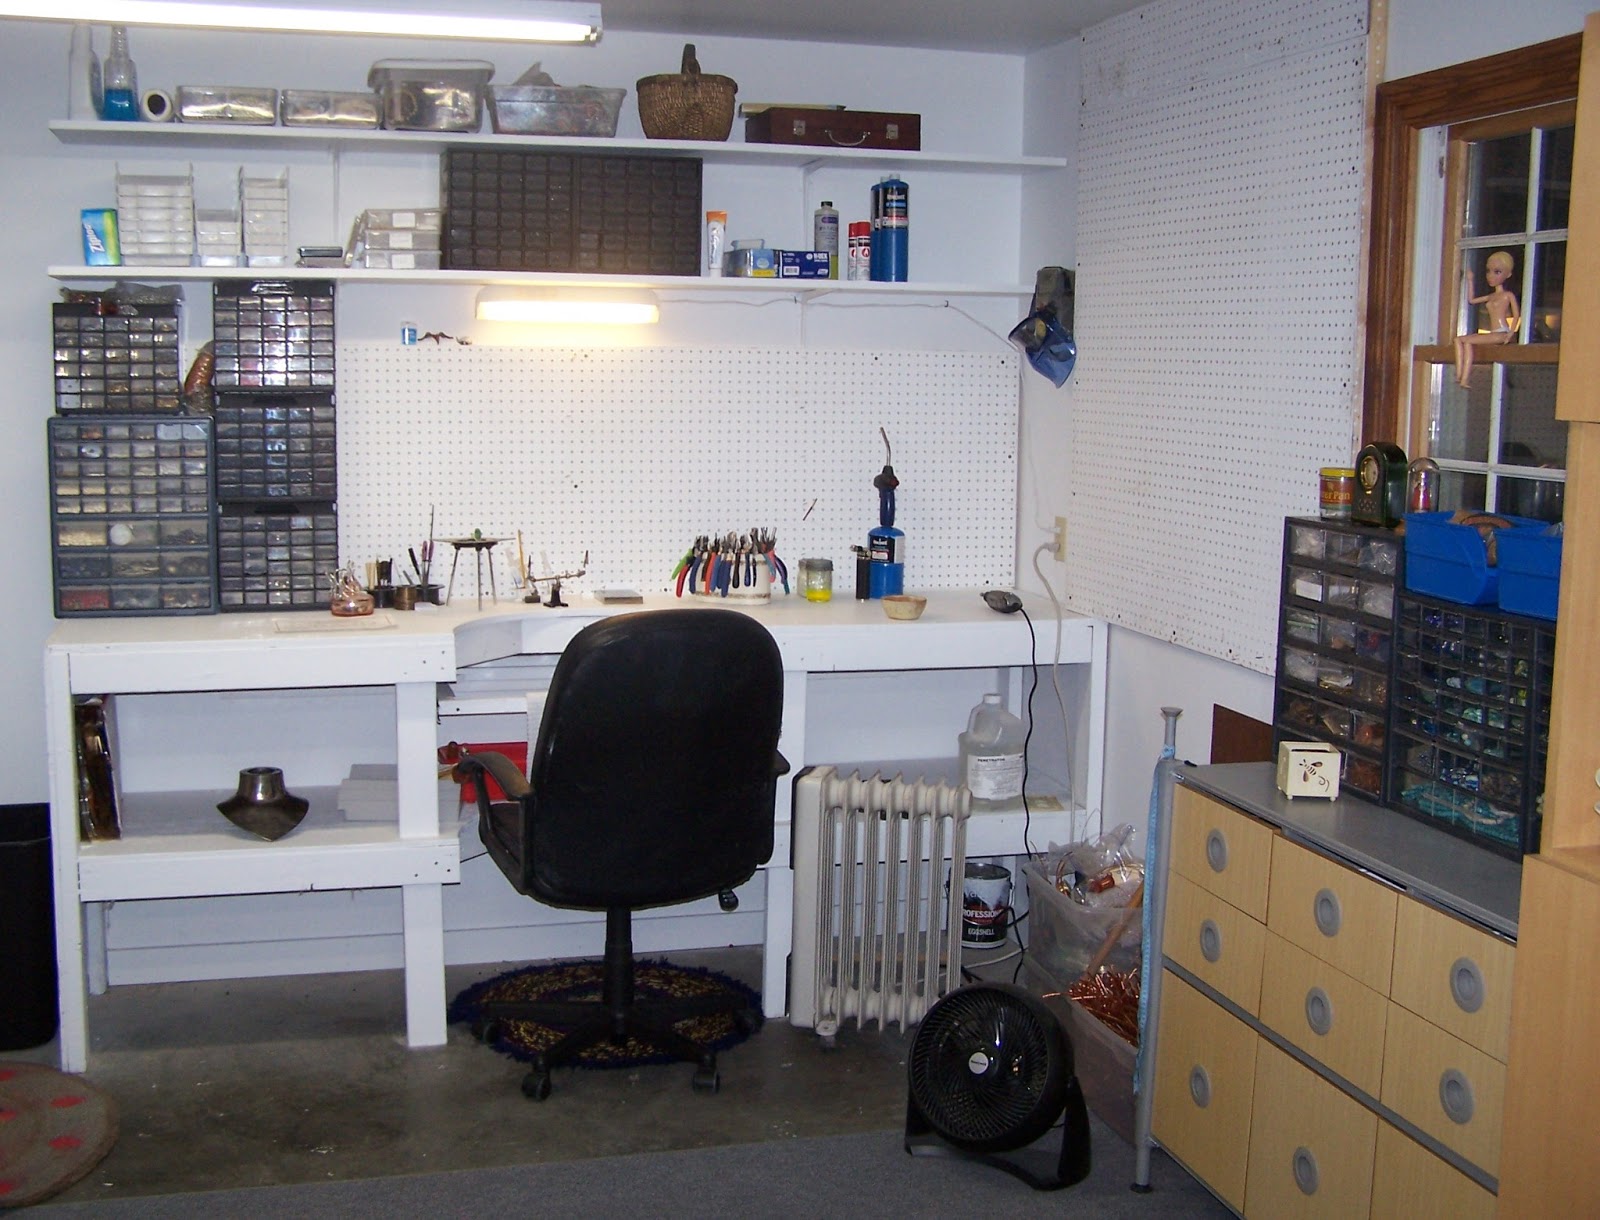
It's official! I converted my garage into a studio workshop, and I am in love. I honestly think I would sleep in there if I could.  (. . . Yes . . . I tried it, but the loveseat is too small.)

 
There are lots of cabinets and drawers and containers to hold all my bits and pieces, and several design surfaces with good lighting.


I even have a shipping department.  It's quite an upgrade from the breakfast bar in the kitchen!


My bench, custom made by Adam Hempelmann of Hempelmann Construction


    Let the creative process RESUME!!

Sunday, March 3, 2013

Wearable Length: How to Measure for a Bracelet

Being a 5'9" plus sized woman most of my adult life, I've had my share of frustrations trying to find bracelets that fit.  Every bracelet seems to be 7" long.  That's great for some styles, but others won't even go around my wrist - and it's now just 6 1/2" in circumference.  It defies logic that a 7" bracelet won't fit a 6 1/2" wrist.  Or does it?? 


I generally use my own wrist as a guide when creating (6 1/2") which serves two functions: I get to see how much longer I need to make the bracelet, and I get to try them on to see how gorgeous they look (or not, but that's a whole other blog *hehe*)  I customize everything to fit my clients, most of whom are out of state or even out of the country, so I need to get it right the first time when measuring the finished product.  So I always ask for the actual wrist circumference.

You can get a measurement of your wrist by using a soft measuring tape or by measuring the inside of your your best fitting watch. If you don't have a soft measuring tape, you can wrap a ribbon or a piece of string around your wrist at the wrist bone, mark the spot where it meets, and then measure it with a ruler to determine your wrist size. To get the best fit, measure snug at the wrist bone.  Your bracelet size is your wrist circumference plus 1/2 to 1 inch, depending on how snug you like to wear your bracelet.  

When creating a bracelet, I always ask for the client's wrist circumference.  I use a bracelet mandrel that has graduated sizes from 4" to 9" in circumference.  Once I know the client's actual wrist measurement, I measure it against the mandrel and adjust accordingly.  Why?  Depending on how the bracelet is made, it could be 3 inches longer than the person's wrist and still fit perfectly!!

Here's a perfect example.  The bracelet in the photo above is 9" long.  If someone said, I have an 8" wrist, you'd think that this bracelet would fit, right?  Not so!  The 9" bracelet in the photo fits loosely on the 5 3/4" wrist of the hand model.  How can that be?  The links are 3/4" thick which makes the wearable length much shorter than the measurement of the bracelet.  I'm sure there's a mathematical formula for calculating this, but I don't know it.  

So the next time you order a custom made bracelet online, be sure to tell the artist your actual wrist circumference so she can create the perfect fit for you!!