 |
| Original sketch for this ring. Thanks to Art Jewelry Magazine's January 2013 issue, I revised my steps! |
 |
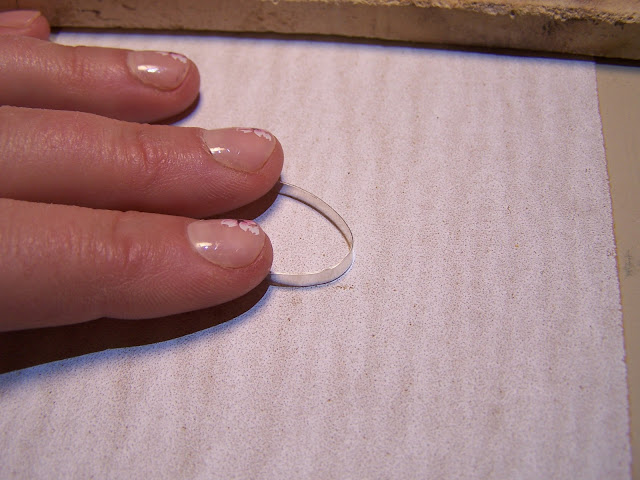
| Sanding the bezel even so it will lie flush with the ring base. |
 |
| Check fit and file the solder line smooth |
 |
| I found my tripod worked better for soldering. Not sure my ceramic soldering board is the right one. |
 |
| After soldering using hard paste solder. Perfect join the first time! |
 |
| Checking the fit after soldering and pickling. Using dental floss under the stone makes it easy to remove - great tip from Art Jewelry Magazine January 2013 issue! |
 |
| I measured the two wires for the band then soldered the space at the back about 3/8" in length. |
 |
| Had to do this step twice, as I didn't have the greatest fit on the first try. My second attempt was more successful. |
 |
| It's looking a bit more like the original sketch now. Next step . . . sawing. Stay tuned!! |

No comments:
Post a Comment